What is a trial mode?
Trial testing refers to the test injection molding steps that are carried out after the product is completed and before mass production in the product development and manufacturing process. Before testing the injection mold, we should pay attention to the following matters:
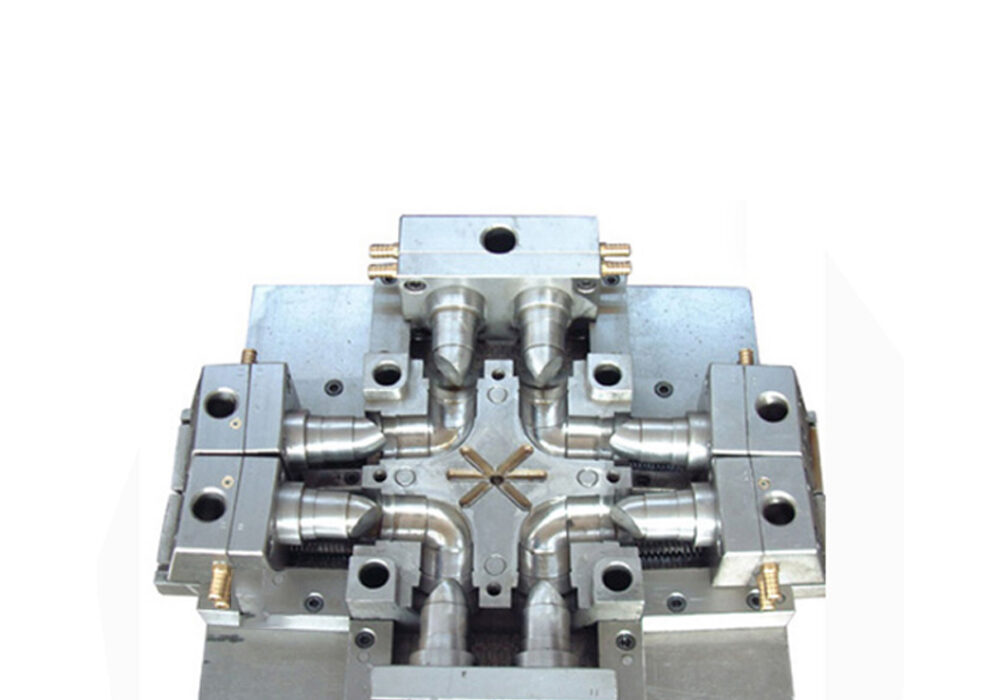
- 1. Understand the relevant information of the mold
It is best to obtain the design drawing of the mold, analyze it in detail, and invite the mold technician to participate in the trial work. - 2. First check its mechanical coordination on the workbench
Pay attention to whether there are phenomena such as scratches, missing parts and looseness, whether the movement of the mold to the skateboard is true, whether there is leakage in the waterway and trachea joints, and if the opening of the mold is limited, it should also be marked on the mold. If the above actions can be done before the mold is hung, you can avoid discovering problems when hanging the mold and then wasting the man-hours when disassembling the mold. - 3. When it is determined that the various parts of the mold are moving properly, it is necessary to select a suitable trial mold injection machine, and pay attention to when selecting:
(1) What is the maximum injection volume of the injection molding machine;
(2) Whether the inner distance of the pull rod is lowered;
(3) Whether the maximum moving stroke of the activity template meets the requirements;
(4) Are other related tools and accessories for trial molds prepared?
After everything is confirmed that there is no problem, the next step is to hang the mold. When hanging, you should pay attention not to remove the hook before locking all the clamp templates and opening the mold, so as to prevent the clamp template from loosening or breaking and causing the mold to fall.
After the mold is installed, you should carefully check the mechanical movements of each part of the mold, such as the movement of the skateboard, thimble, withdrawal structure and limit switch. And pay attention to whether the injection nozzle and the inlet are aligned.
The next step is to pay attention to the mold clamping action. At this time, the mold closing pressure should be lowered. In manual and low-speed mold clamping actions, pay attention to whether there are any irregular movements and abnormal sounds.
The process of lifting the mold is actually relatively simple. The main thing that needs to be careful is that the center of the mold gate and nozzle is difficult. It is usually possible to adjust the center by means of test paper. - 4. Increase the mold temperature:According to the performance of the raw material used in the finished product and the size of the mold, an appropriate mold temperature control machine is selected to increase the temperature of the mold to the temperature required for production. After the mold temperature is increased, the movement of each part must be checked again, because the steel may cause a mold clamping phenomenon due to thermal expansion, so pay attention to the sliding of each part to avoid the occurrence of strain and vibration.
- 5. If the experiment plan rule is not implemented in the factory, we suggest that only one condition can be adjusted at a time when adjusting the trial test conditions, in order to distinguish the impact of a single condition change on the finished product.
- 6. According to different raw materials, do a proper roasting of the original gao used.
- 7. Use the same raw materials as much as possible for trial production and future mass production.
- 8. Do not try the mold completely with inferior materials. If you need color, you can arrange the color test together.
- 9. Problems such as internal stress often affect the secondary processing. After the mold is tested, the secondary processing should be performed after the finished product is stabilized. After the mold is closed at a slow speed, the mold closing pressure should be adjusted and moved several times to see if there is any Uneven mold pressure to avoid burrs and deformation of the mold.
After checking the above steps, lower the mold closing speed and mold closing pressure, and set the safety buckle and ejection stroke, and then adjust the normal mold closing and mold closing speed. If the limit switch of the maximum stroke is involved, the mold opening stroke should be adjusted slightly shorter, and the high-speed mold opening action should be cut off before this mold opening maximum stroke. This is because the high-speed action stroke is longer than the low-speed one in the entire mold opening stroke during the mold installation. On the plastic machine, the mechanical ejector rod must also be adjusted after full-speed mold opening to prevent the thimble plate or peeling plate from being deformed by force.
Please check the following items before making the first shot:
- (1) Whether the feeding schedule is too long or insufficient;
- (2) Whether the pressure is too high or too low;
- (3) Is the filling speed too fast or too slow;
- (4) Whether the processing cycle is too long or too short.
In order to prevent short shot, breakage, deformation, burrs and even damage to the mold of the finished product. If the processing cycle is too short, the thimble will push through the finished product or peel the ring to crush the finished product. Such a situation may cause you to spend two or three hours to take out the finished product.
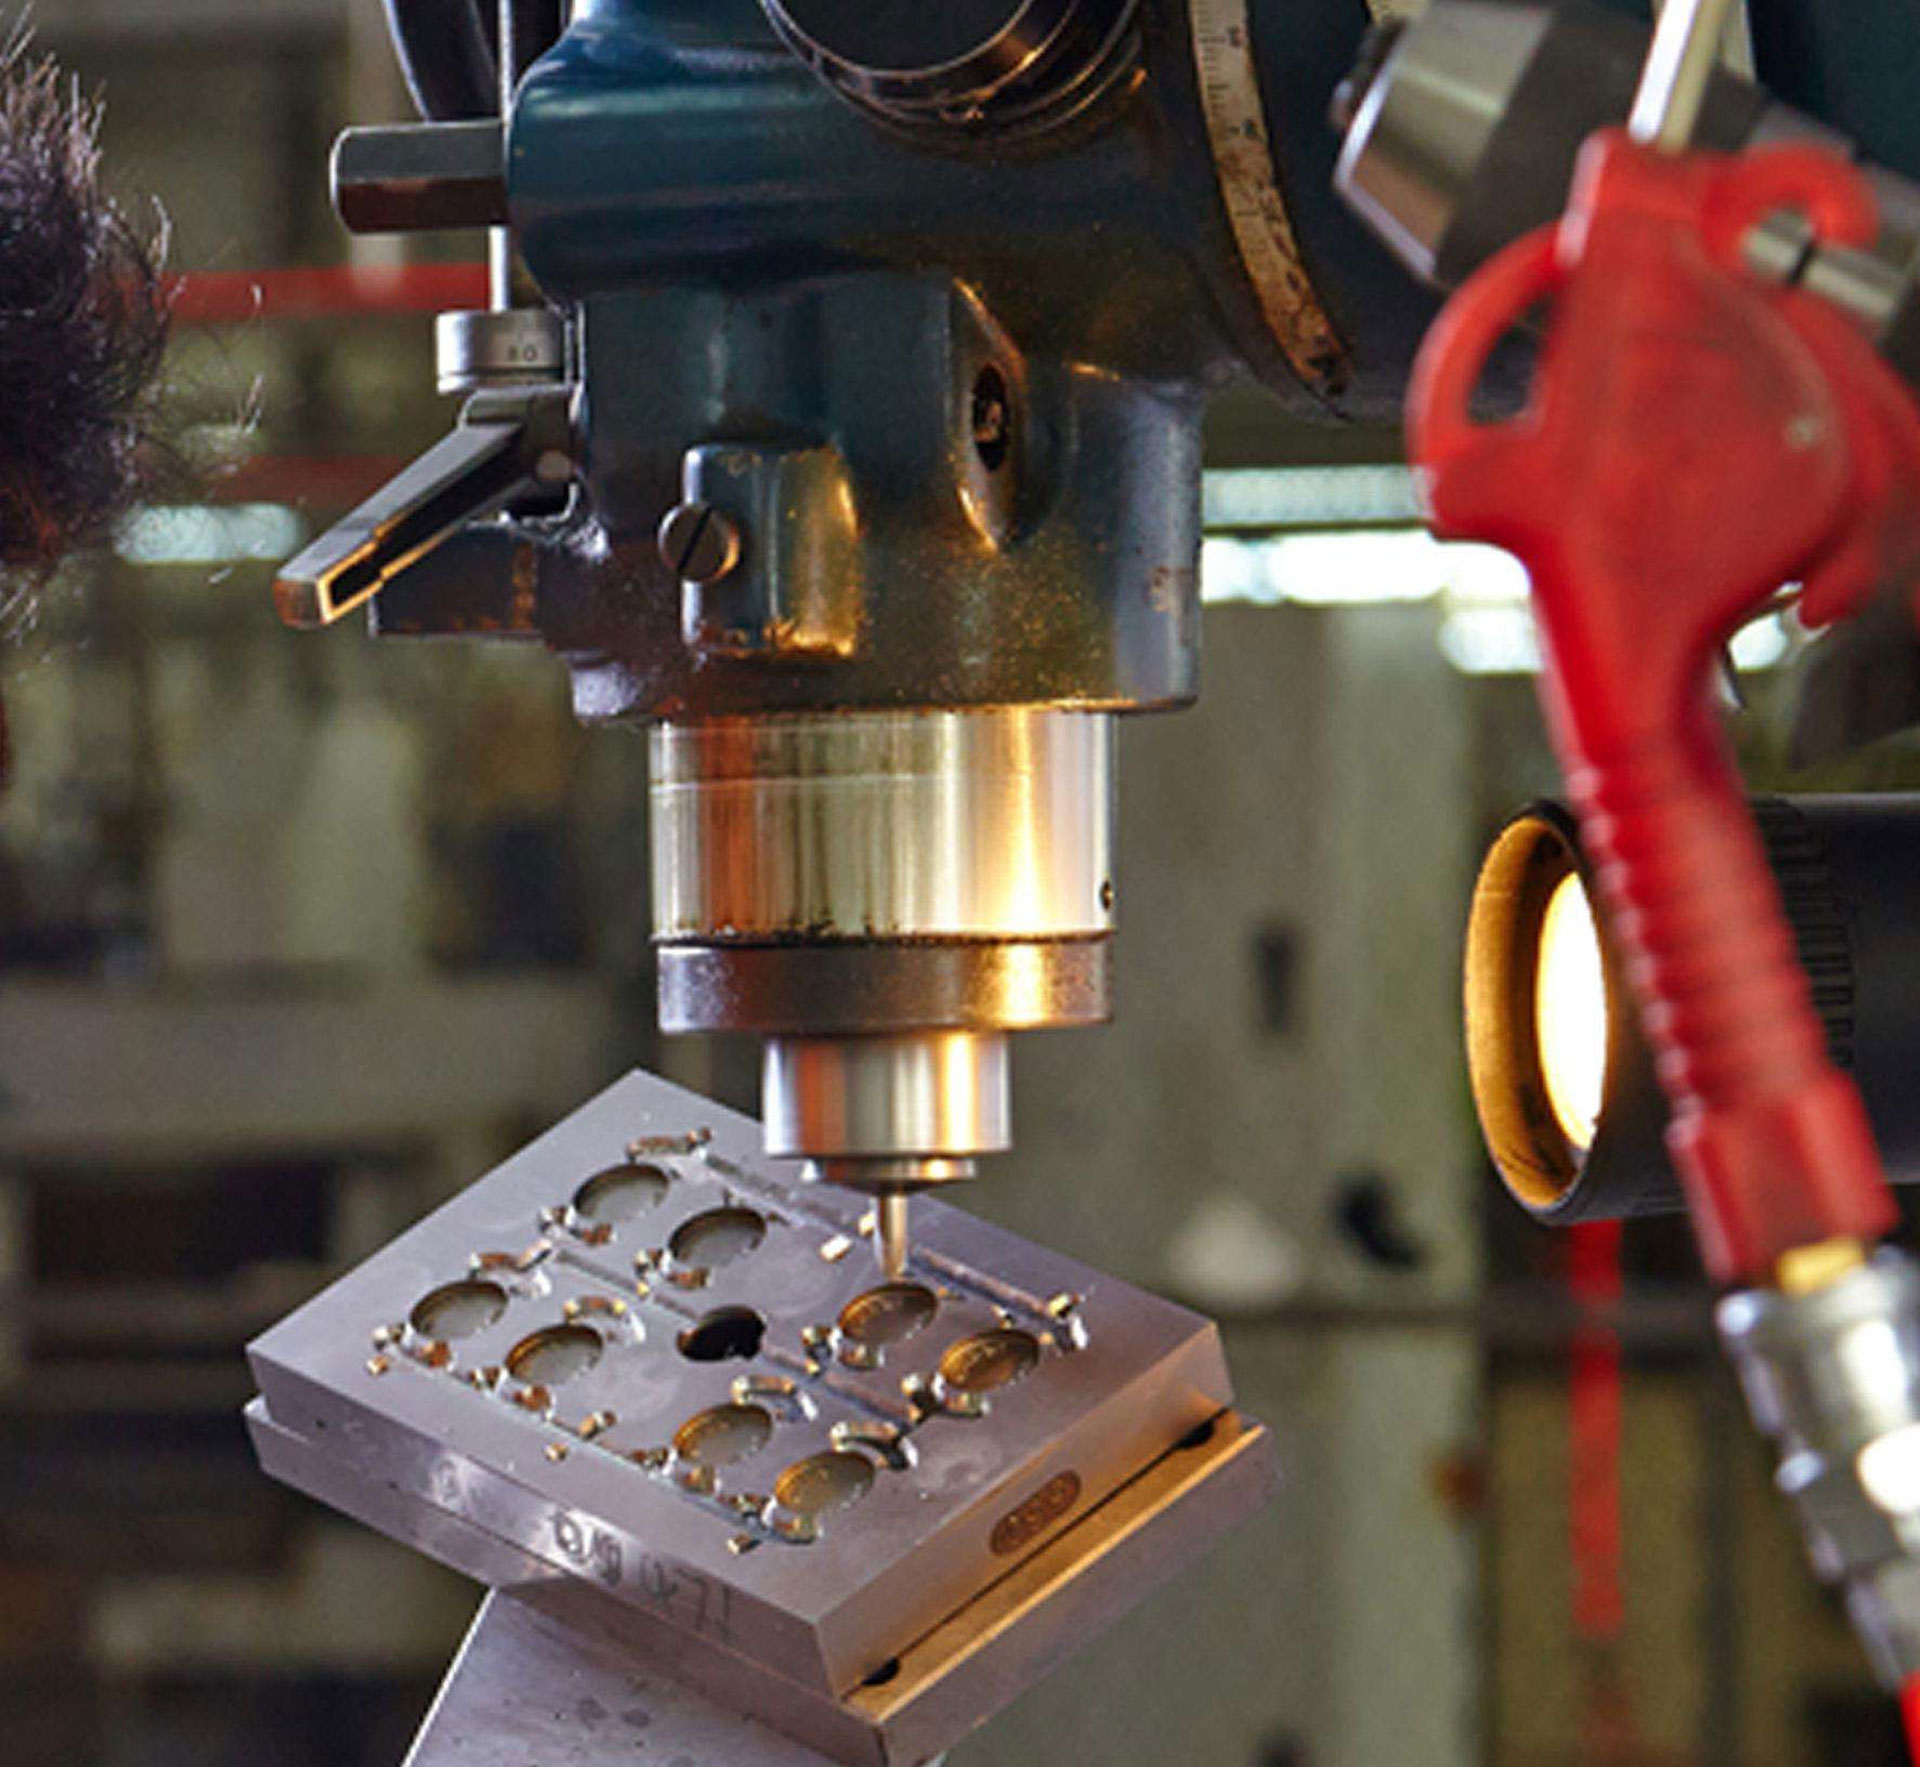
If the advance cnc machining cycle is too long, the weak parts of the mold core may be broken due to the shrinkage of the rubber compound. Of course, you can’t anticipate all the problems that may occur during the mold trial process, but adequate consideration of timely measures in advance will certainly help you avoid serious and expensive losses.