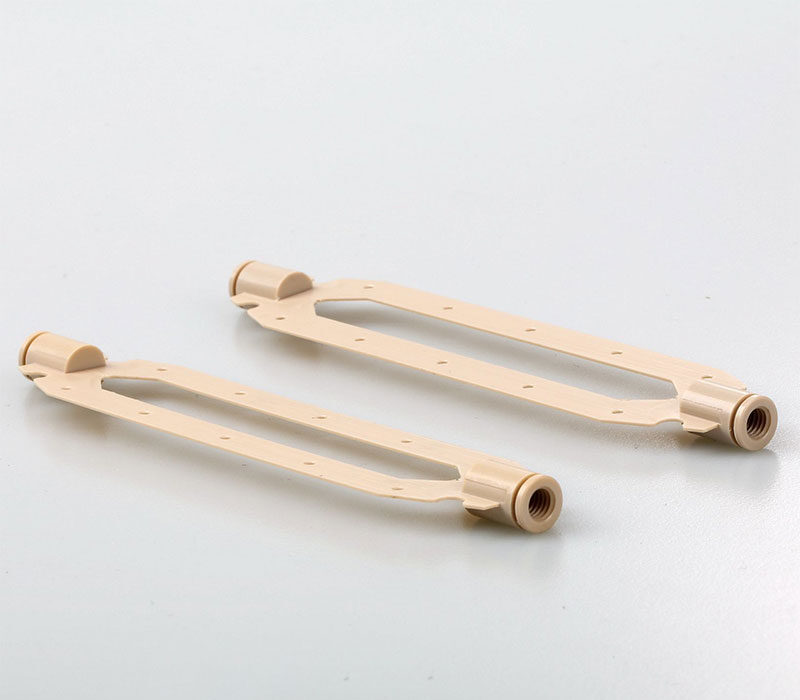
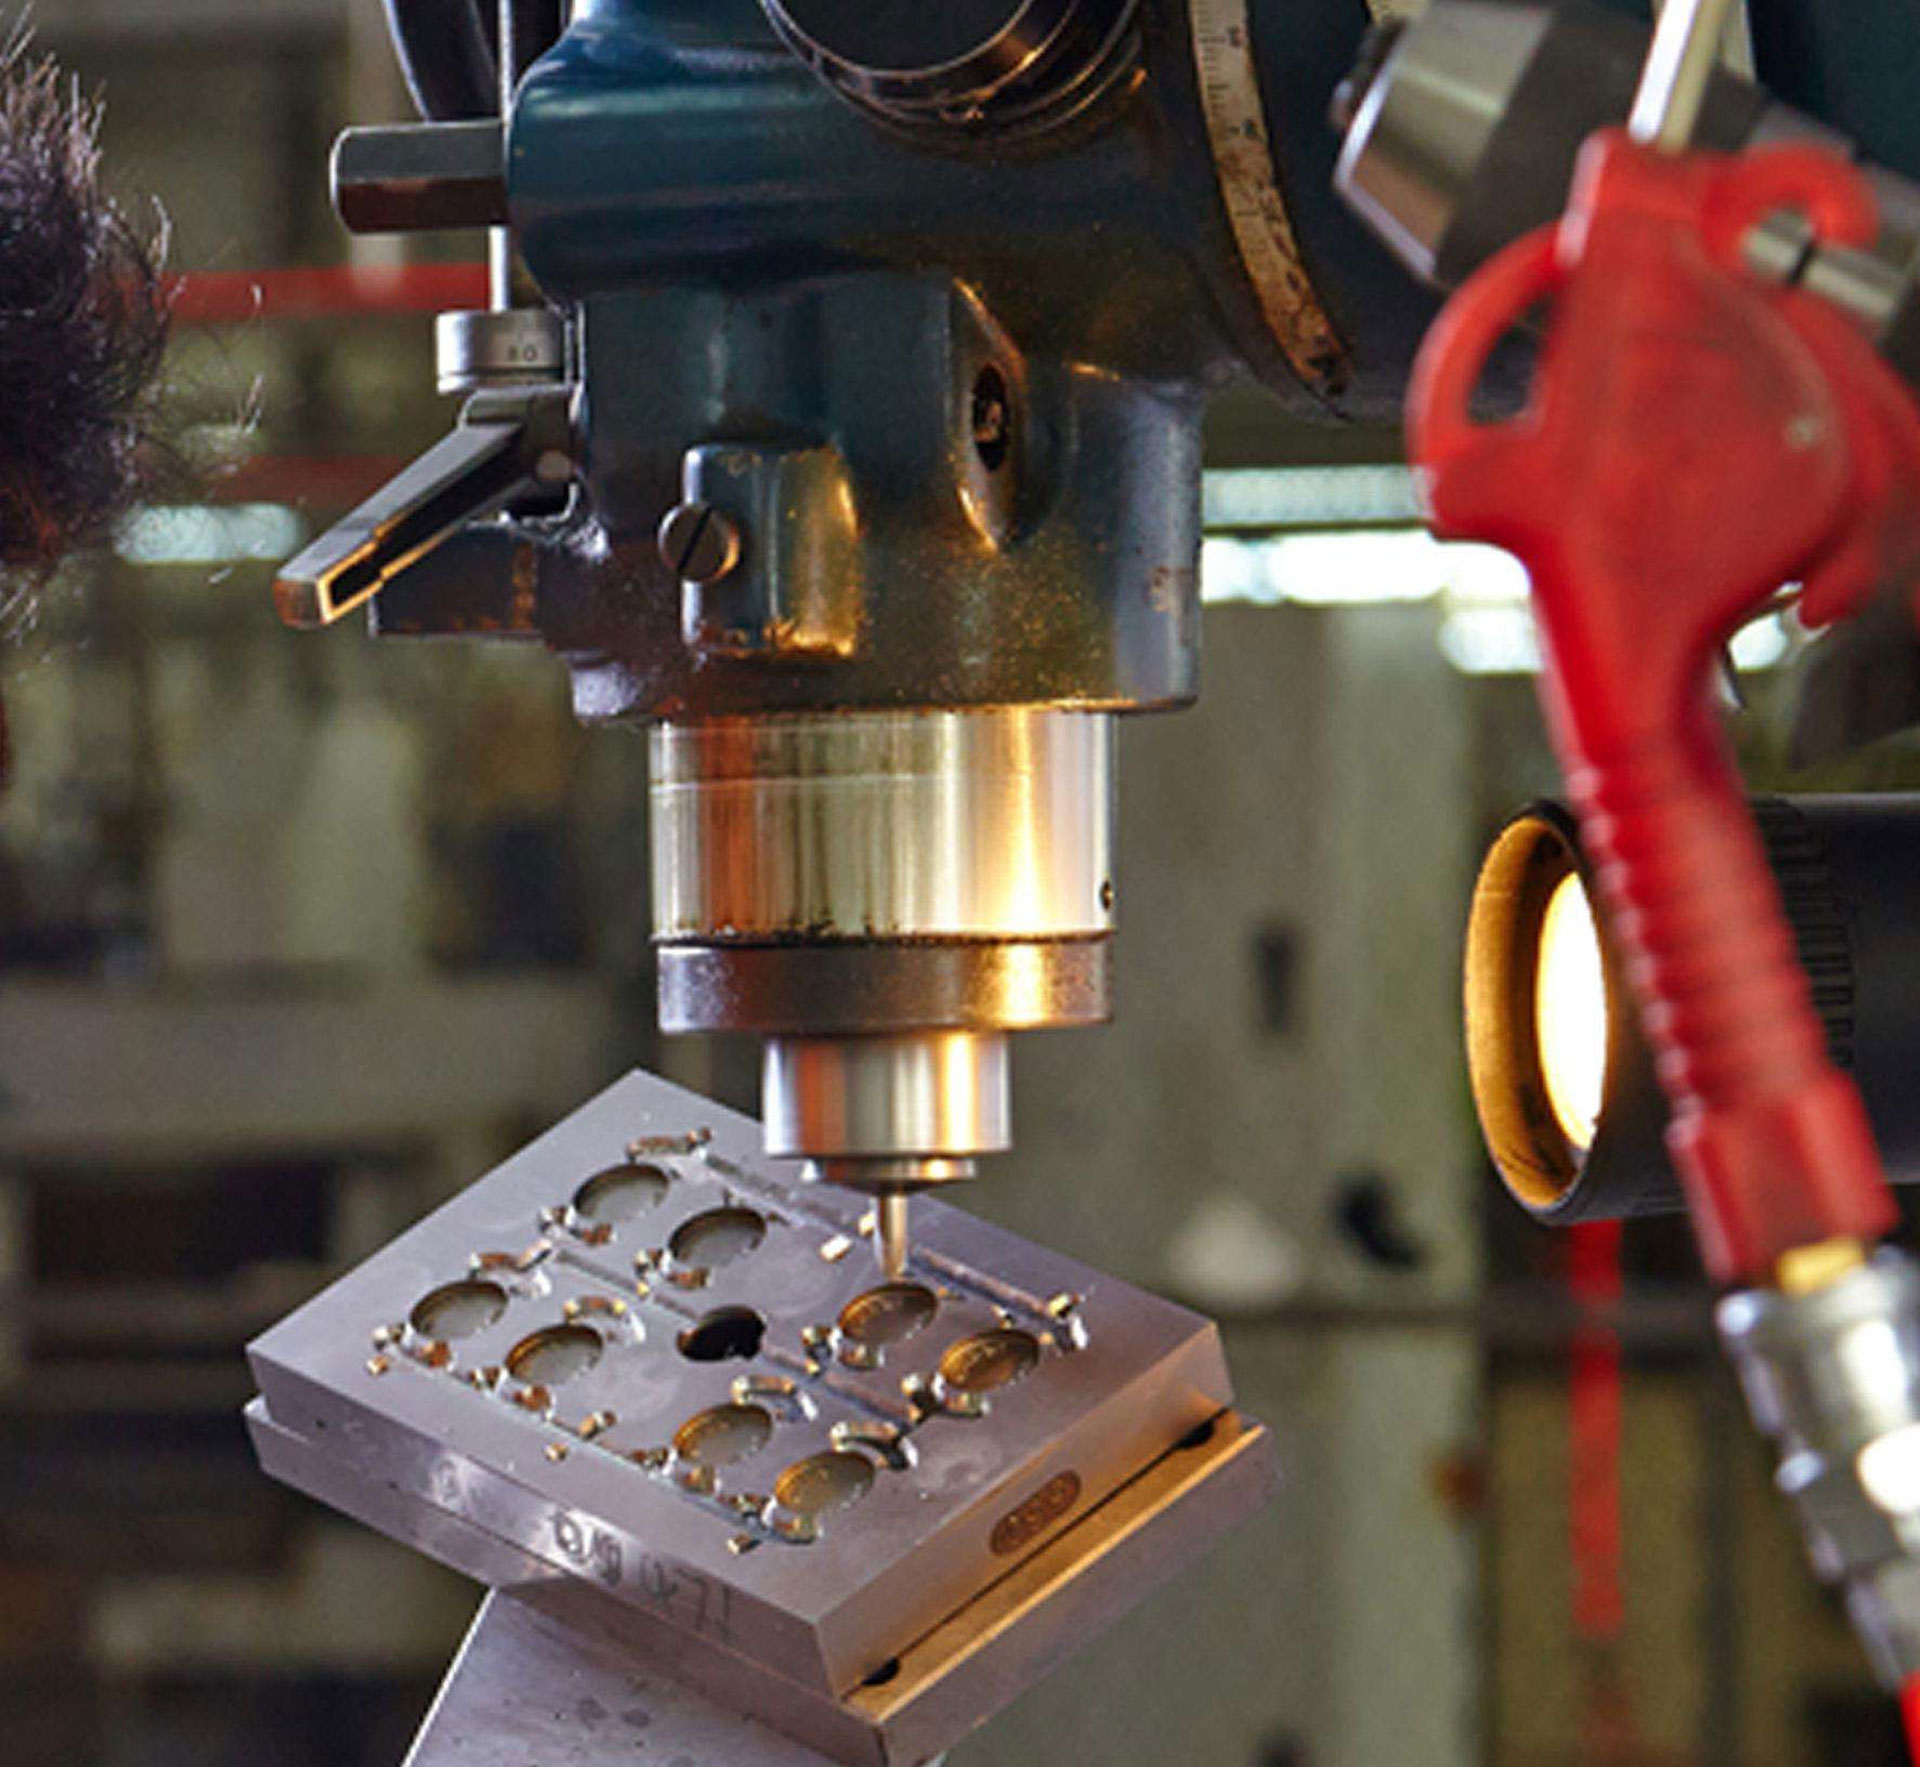
The processing quality of precision mold parts includes processing accuracy and surface quality: processing accuracy is the degree of conformity between the three geometric parameters of the actual size, shape and position of the surface of the processed part and the ideal geometric parameter required by the drawing; the actual geometric parameter of the part and the ideal geometric parameter The deviation value is called machining error.
Both machining accuracy and machining error are terms for evaluating the geometric parameters of the machining surface. The processing accuracy is measured by the tolerance level. The smaller the level value, the higher the accuracy. The processing error is expressed by a numerical value. The larger the value, the larger the error. High processing accuracy means that the processing error is small and vice versa; the actual parameters obtained by any processing method will not be absolutely accurate. From the function of the part, as long as the processing error is within the tolerance range required by the part drawing, it is considered that the processing is guaranteed Precision.
The quality of the machine depends on the machining quality of the parts and the assembly quality of the machine. The machining quality of the parts includes the machining accuracy and surface quality of the parts. The machining accuracy refers to the actual geometric parameters (size, shape and position) and ideal geometry of the parts after machining. The degree to which the parameters match. The difference between them is called processing error. The size of the processing error reflects the level of processing accuracy. The larger the error, the lower the processing accuracy, and the smaller the error, the higher the processing accuracy; the main aspects that affect the processing accuracy: dimensional accuracy, the degree of conformity between the actual size of the processed part and the tolerance zone center of the part size.
Dimensional accuracy is controlled by dimensional tolerances. Dimensional tolerance is the allowable variation of part size during cutting. In the case of the same basic dimensions of the mold parts, the smaller the dimensional tolerance and the higher the dimensional accuracy; the shape accuracy: refers to the degree of conformity between the actual geometric shape of the processed part surface and the ideal geometric shape. There are 6 items to evaluate shape accuracy: straightness, flatness, roundness, cylindricity and line contour. The shape accuracy is controlled by the shape tolerance. Each shape tolerance is divided into 13 accuracy grades except roundness and cylindricity. Level 1 is the highest and level 12 is the lowest.
Position accuracy: refers to the difference in actual position accuracy between the relevant surfaces of the parts after processing. There are eight items for evaluating position accuracy: parallelism, perpendicularity, inclination, coaxiality, symmetry, position, circular runout and full runout. Position accuracy is controlled by position tolerance, and the position tolerance of each item is also divided into 12 accuracy levels.
The relationship between the dimensional accuracy, shape accuracy and position accuracy of mold parts: when designing machine parts and specifying the machining accuracy of parts, attention should be paid to controlling the shape error within the position tolerance, and the position error should be less than the dimensional tolerance. That is, precision parts or important surfaces of parts, the shape accuracy requirements should be higher than the position accuracy requirements, and the position accuracy requirements should be higher than the dimensional accuracy requirements.

